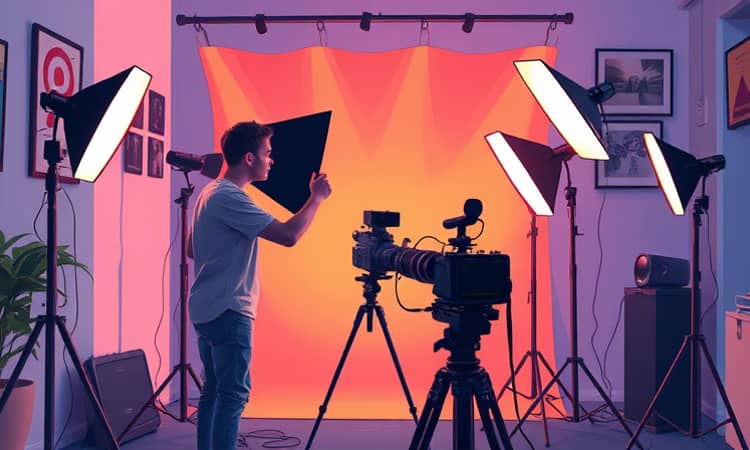
Lighting is the secret ingredient that transforms an ordinary video into a captivating visual story. Whether you’re shooting a vlog, an interview, or a creative short film, understanding how to shape and control light will instantly elevate your production. In this guide, we’ll walk you through every step—from essential concepts to advanced tweaks—so you can achieve professional results with confidence.
Lighting Basics: Key Concepts and Must-Have Equipment
Before you plug in your first light, it’s crucial to grasp the foundational terms and gear that form the backbone of any setup. Mastering these concepts will give you the creative freedom to mold the mood and depth of your scene.
- Key light serves as the primary source, defining your subject’s shape and mood.
- Fill light softens shadows and reveals detail in darker areas.
- Backlight or hair light separates the subject from the background, adding dimension.
- Color temperature (measured in Kelvin) and CRI (Color Rendering Index) ensure accurate hues.
For beginners, start with LED panels: they’re energy-efficient, adjustable in brightness and color, and remain cool to the touch. Pair these with a softbox for gentle diffusion and a reflector to bounce light into hard-to-reach areas. A sturdy light stand or wall mount will keep your setup safe and consistent.
Planning Your Scene: Pre-Production Prep
Great lighting begins long before you hit record. Take time to prepare your environment and visualize the story you want to tell. A clutter-free, controlled space allows you to focus solely on the art of illumination.
Begin by decluttering: remove reflective surfaces that may cause glare and position any props where they complement your composition. Then, consider the mood you wish to evoke. A warm, intimate interview benefits from soft, low-contrast lighting, while a high-energy tutorial might use brighter, more dynamic angles.
Always conduct test shots. Capture short clips to analyze shadows, highlights, and color balance. Adjust angles, intensity, and diffusion until every element of your frame feels intentional and harmonious.
Foundational Setups: From One-Light to Three-Point
Your choice of setup depends on your subject, space, and resources. Start small and build complexity as you gain confidence. Even the simplest arrangement can deliver stunning results when applied thoughtfully.
One-Light Setup: Ideal for ultra-beginners. Use a single LED panel or natural window light as your key. Place a reflector on the opposite side to fill shadows. This minimal approach is perfect for quick vlogs or on-the-go shoots.
Two-Light Setup: Add a fill light or bounce card. Position your key light at a 45-degree angle above the subject’s eye level, and use the secondary source at lower intensity to tame shadows. This flexible arrangement suits moving subjects and tight spaces.
Three-Point Lighting: The industry standard for interviews and polished content. It combines a key, fill, and backlight. Adjust each light’s brightness to craft depth—set fill light at roughly 50–70% intensity of the key. Raise the backlight just above shoulder height to create a subtle halo effect that separates your subject from the background.
Practical Tips: Troubleshooting and Common Mistakes
Even experienced filmmakers run into issues. Anticipating and solving these problems early will save you time and frustration on set.
- Avoid mixed color temperatures: match all sources at 5600K for daylight or 3200K for tungsten to simplify color correction.
- Watch out for glare on glasses: raise your key light higher and soften it through diffusion.
- Steer clear of harsh shadows: introduce a softbox or move lights farther away for gentler falloff.
- Prevent background blending: add a backlight or accent light to define separation.
Always keep cables tidy and gear secure. In small spaces, wall mounts or C-stands can maximize floor area and reduce hazards. Remember to test your setup with a quick recording and review playback to catch any anomalies before you roll.
Advanced Tweaks: Color Temperature, CRI, and Background Separation
Once you’re comfortable with basic configurations, delve deeper into the nuances of light quality. Color temperature, measured in Kelvin (K), ranges from warm (2700K) to cool (6500K). Selecting lights with a CRI above 95 ensures accurate color reproduction, making skin tones and product colors appear true-to-life on camera.
For compelling portraiture, experiment with subtle gels to introduce color accents or use grids to focus beams into tight shafts of light. Adding a fourth or fifth rim light can accentuate hair, shoulders, or background elements, crafting a cinematic look that elevates your storytelling.
Quick Checklist: Your First Video Lighting Setup
- Choose your key light and set it at a 45-degree angle above eye level.
- Add a fill light or reflector at 50–70% intensity to tame shadows.
- Position a backlight to separate subject from background.
- Match all lights to the same color temperature (e.g., 5600K).
- Use diffusion (softboxes, umbrellas) for flattering, gentle light.
- Run test shots and adjust angles, power, and diffusion as needed.
By following these guidelines, you’ll develop a keen eye for light and the confidence to tackle any scenario. Remember, lighting is both technical and creative—embrace experimentation, learn from each shoot, and your videos will shine brighter than ever.
References
- https://www.youtube.com/watch?v=OLmVmf48l2M
- https://www.techsmith.com/blog/get-perfect-lighting-video/
- https://www.colborlight.com/blogs/articles/lighting-for-video-production-basics
- https://www.soundstripe.com/blogs/a-beginners-guide-to-video-lighting-for-vlogs
- https://nofilmschool.com/lighting-techniques-in-film
- https://www.colborlight.com/blogs/articles/video-lighting-equipment
- https://essaypro.com/blog/article-review
- https://www.youtube.com/watch?v=flc5iP0KwTg


